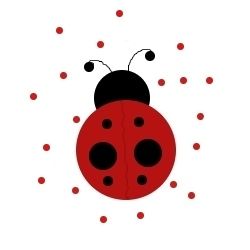
Lady Bug Nail Art

Do It Yourself
I love lady bugs so when I saw Sally Hansen's Nail Art Pens I knew my wish to have cute lady bugs on my fingers tips was actually in reach.
If you want to do it yourself you will need:
- Base coat
- Red nail polish
- Sally Hansen Nail Art Pen in black
- Top coat (essential)
Citation: unless otherwise stated graphics/images are copyright M. E. Wood.
Before You Begin
Apply a base coat to your nails followed by one or two coats of red nail polish. Let them dry completely before beginning nail art. I like to let them cure for a day. Then it becomes two small projects instead of one long one.
Making Nail Art Easier
I highly recommend giving Sally Hansen's nail art pen a try. They are a convenient no mess way of decorating your nails.
TIPS:
- Practice drawing straight lines with a pen on paper with your non-dominant hand before starting.
- Decorate your dominate hand first!
Step One: Draw a thin line (ladybug at rest) or a narrow triangle (wings spread).
 or a narrow triangle (wings spread).")
Lady Bug Nail Art
Step Two: Add head to tip of nail.

Step Three: Add spots! Don't over do it. Two to eight spots per nail.

Make It Longer Lasting
Always cover your nail art with a clear top coat. This prevents your art from chipping or washing away (Sally Hansen nail art pens are water soluble).
Ladybug nail art thanks to Sally Hansen!

More Than One Way - To Make a Lady Bug
There is more than one way to create lady bug nail art. And Youtube is full of inspiration galore. Here are some talented women who have decorated their nails with ladybugs.
Have you tried to add lady bugs to your nails? How did you make out? Have you tried any other nail art?